How Rigid Boxes Are Made: Step-by-Step Overview of the Production Process
Rigid boxes are widely used in luxury packaging because of their durability, clean structure, and high-end appearance. From electronics to cosmetics to premium gifting, these boxes offer both protection and strong branding value. But understanding how rigid boxes are made helps brands appreciate the craftsmanship and precision involved. The production process is more detailed than typical folding cartons, involving a combination of specialized machinery, skilled manual work, and carefully selected materials. Below is a simplified overview of the rigid box manufacturing process, broken into three major stages.
Preparing and Shaping the Paperboard

The foundation of every rigid box begins with thick paperboard, often called greyboard or chipboard. This material can range in thickness depending on the desired rigidity, but it is noticeably denser than standard cartonboard. The first step of production is cutting this paperboard into accurate pieces. Manufacturers use automated cutting machines to ensure clean lines and consistent sizing. Precision is extremely important here because even minor measurement errors can affect how well the final box lines up.
After cutting, the material is shaped using either scoring or V-grooving. Scoring creates fold lines, while V-grooving cuts a shallow channel that allows the board to fold into perfectly sharp edges. Luxury rigid boxes often use V-grooving because it creates smooth, seamless corners without bulky folds. Once the board is grooved, it is folded into shape to form the structure of the box. Glue or corner tape is applied to hold the walls in place. At this stage, the box looks like a plain, unwrapped structure — strong, but still unfinished.
Wrapping the Structure With Printed or Textured Paper
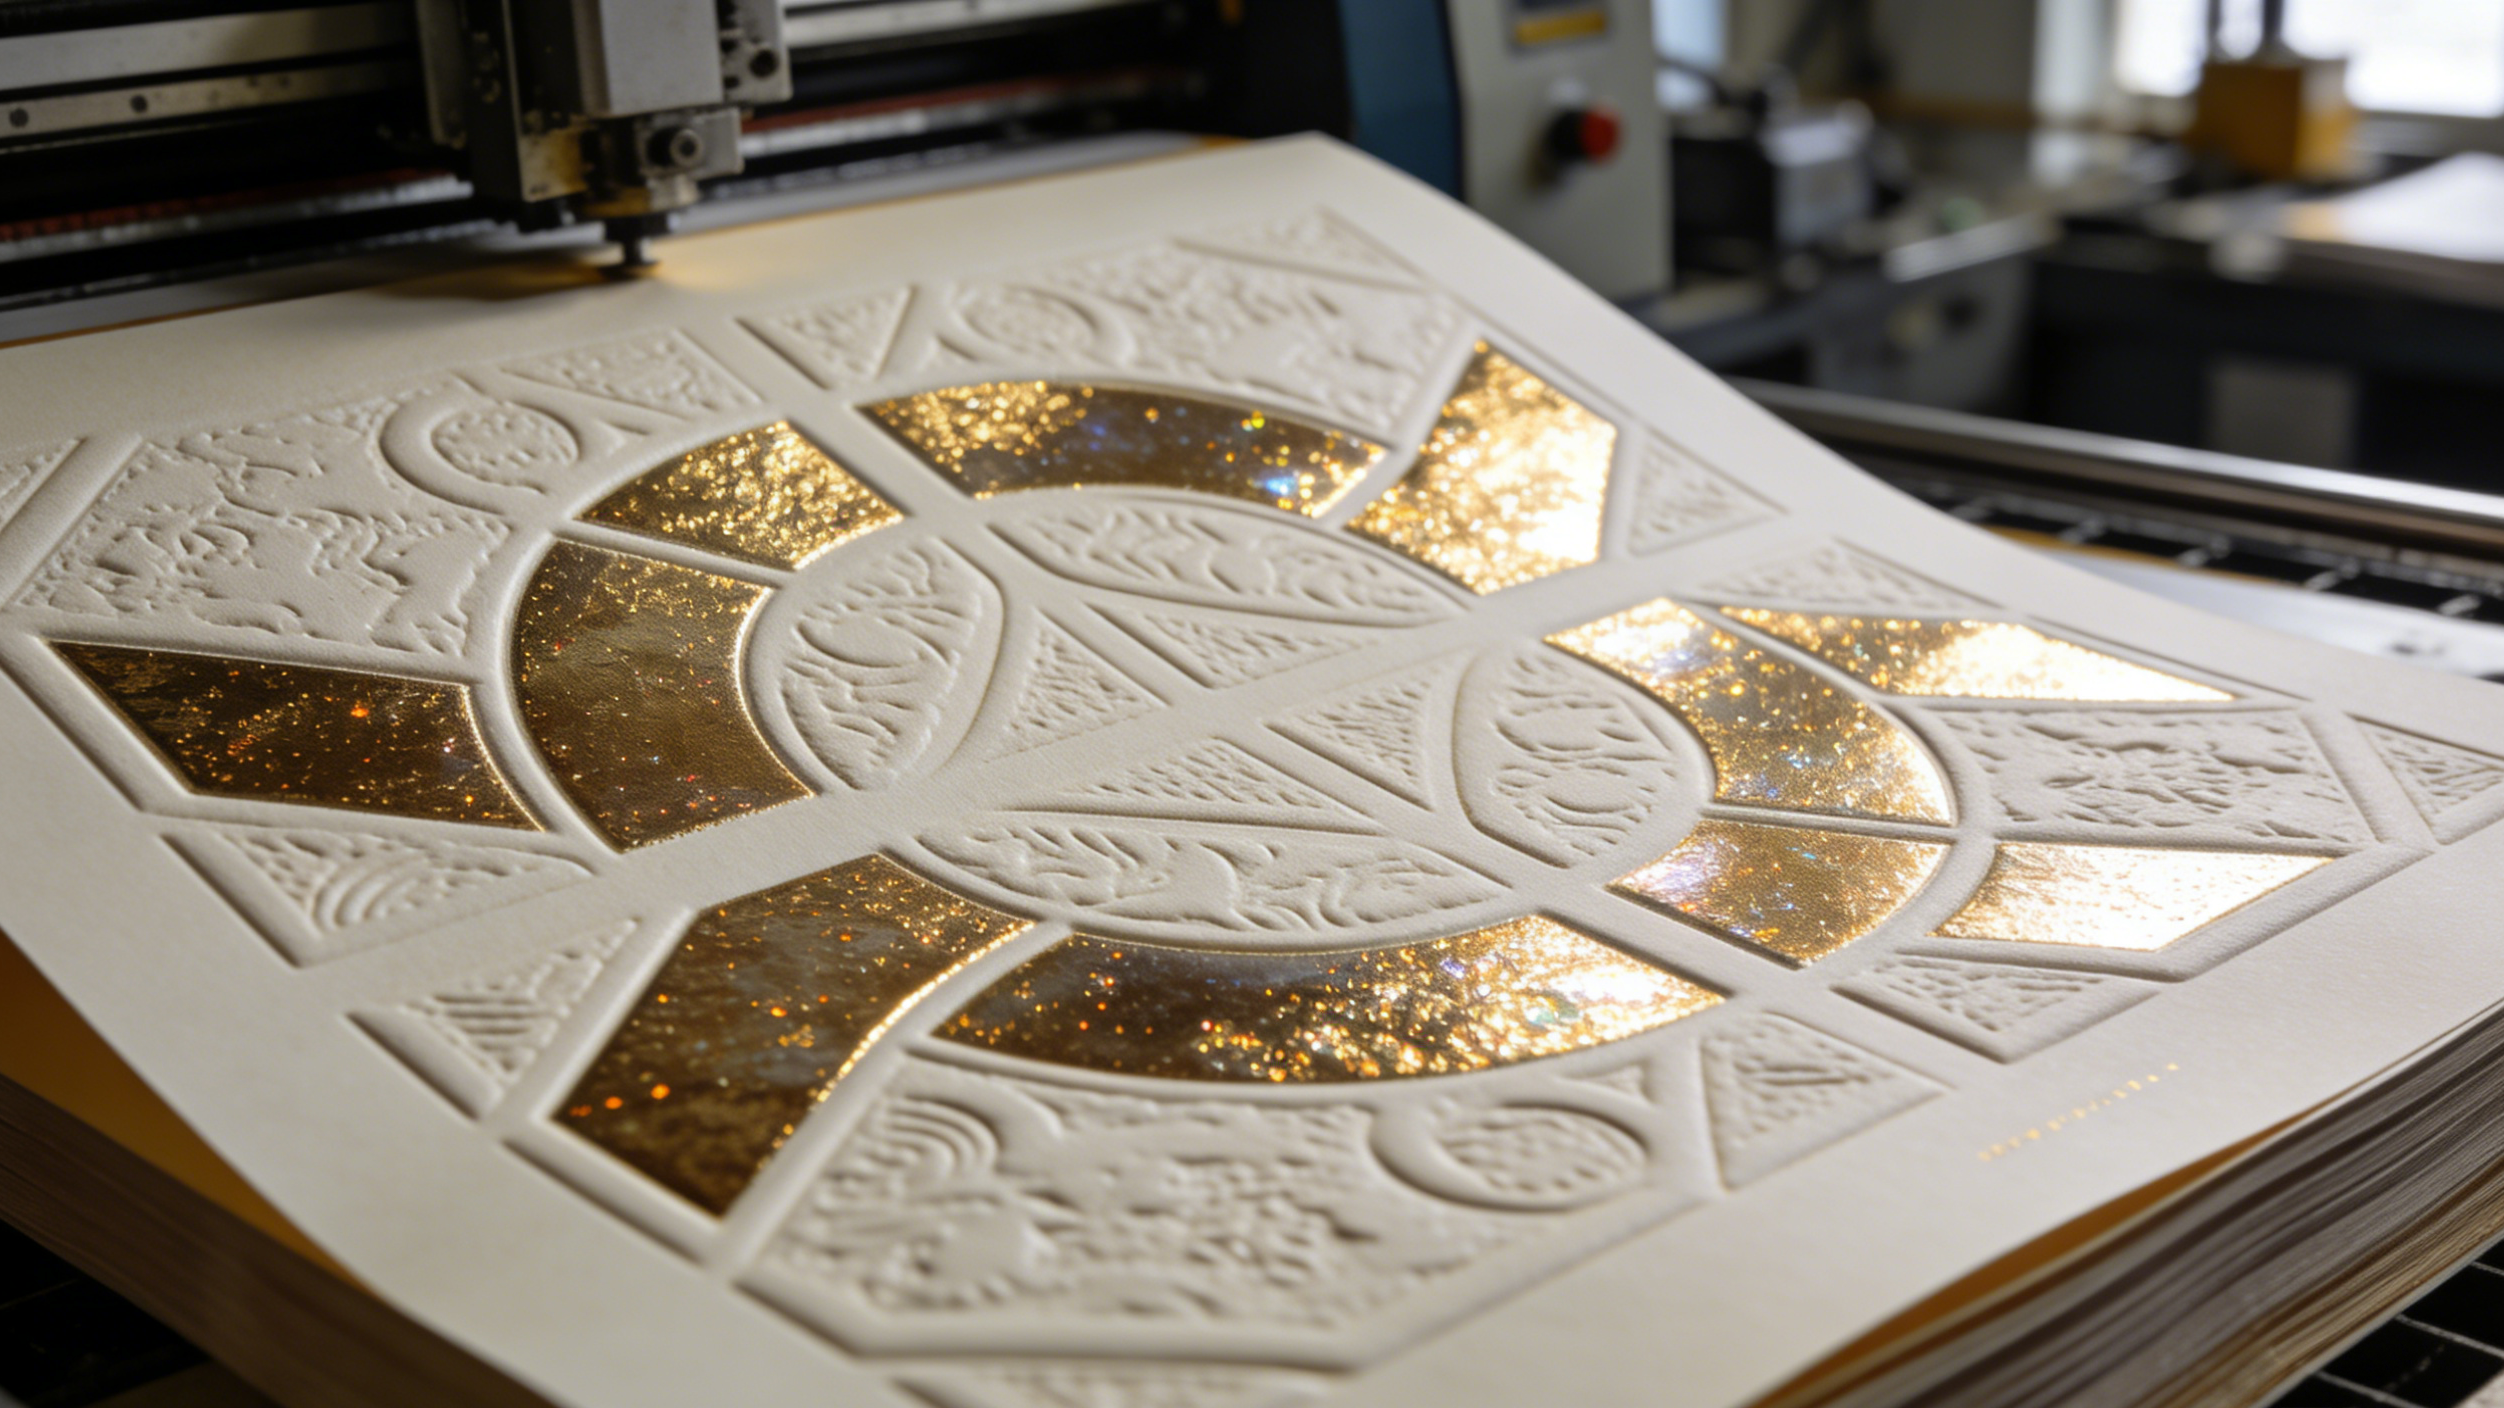
The next major stage is wrapping the box with printed or decorative paper, which gives the rigid box its visual identity. Brands can choose from coated paper, kraft paper, specialty textures, fabric-like materials, or luxury finishes, depending on how they want the packaging to look and feel. Before wrapping, the outer paper is printed using high-quality offset printing and may include details such as foil stamping, embossing, debossing, matte or gloss lamination, or soft-touch coatings. These finishing options are what make rigid boxes appear premium and eye-catching.
Once the wrap is prepared, glue is applied to the inside of the paper, and the paperboard structure is positioned on top with precision equipment. Alignment must be exact so that borders and edges appear clean. Skilled workers often assist with this process, especially for luxury packaging, because manually adjusting the wrap ensures a smooth and flawless finish. The wrap is then folded around the board and pressed tightly to avoid wrinkles, bubbles, or uneven corners. After this step, the box begins to look like the final premium packaging most customers recognize.
Finishing Touches: Inserts, Closures, and Quality Control
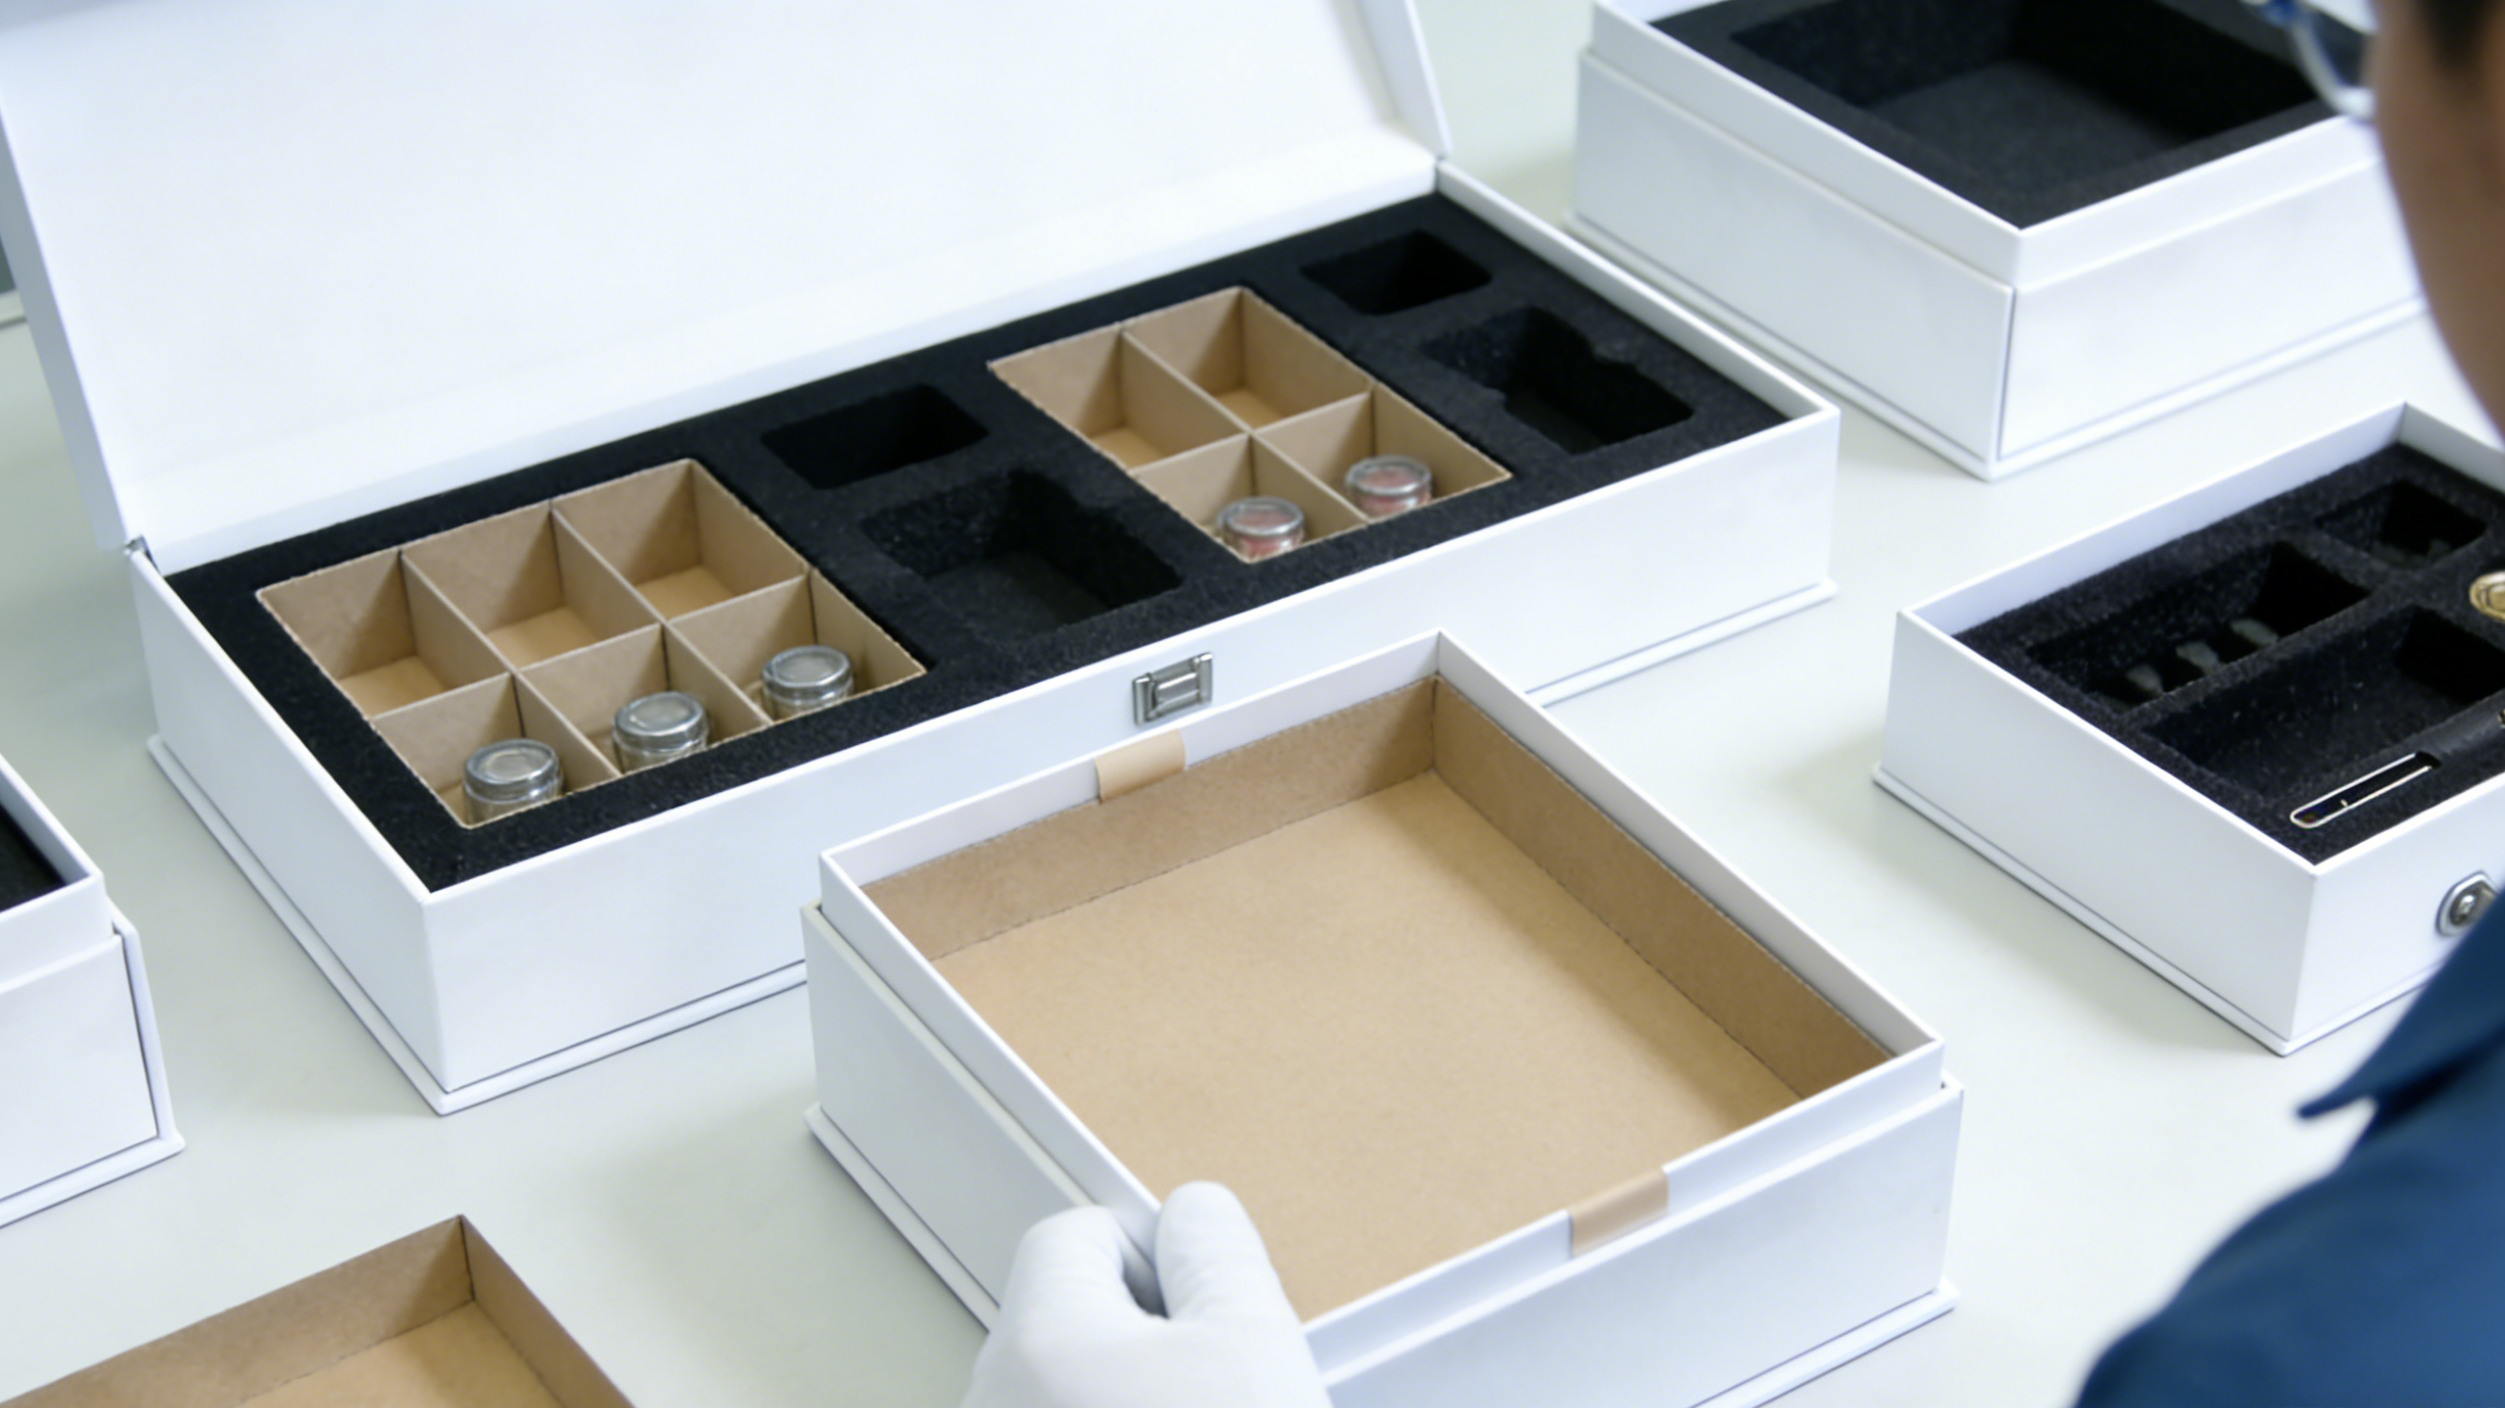
After the box itself is wrapped, additional components are added depending on the intended product. Many brands choose inserts to hold their items securely—these can be made of foam, cardboard, molded pulp, or fabric-lined trays. Inserts not only protect the product but also enhance presentation and unboxing experience. Some rigid boxes also include functional elements such as magnetic closures, ribbon pulls, hinged lids, or drawer-style sliding mechanisms. These added features help elevate the box from simple packaging to a premium experience.
The final stage of rigid box manufacturing is quality control. Because rigid boxes are associated with luxury, appearance matters. Every box is inspected to ensure consistent printing, strong structural integrity, sharp edges, and smooth wrapping. Any imperfections are corrected or discarded. Once approved, the boxes are packed and prepared for shipping to the brand or warehouse.